

Other
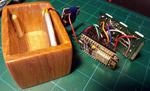
“So I wanted to create a device that I could use to control all of my Home Automated devices through MQTT. This is what I came up with. It has 6 buttons: 5 usable buttons and 1 button tied to …

“It’s never a bad time to make a NeoPixel project, but the holiday season certainly does lend itself to creating large-scale, blinky, colorful displays. In this project, we’re taking the classic Christmas tree shape, cutting it out of …
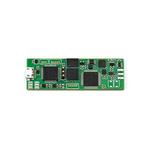
“The Probe-Scope is an open source 60MHz 250Msps oscilloscope probe with all guts built right in, that plugs directly into your PC via USB The Probe-Scope is a 60MHz Bandwidth, 250Msps Open Source oscilloscope, in the form factor of a …
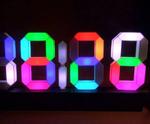
“After several year of using, my analog clock if definitively dead. Meanwhile i was looking for a 3d clock project to print with my Prusa, so i found a 7 segment clock to be driven by ws2812 leds and Arduino …
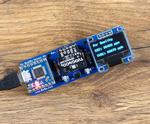
“In this post, we will learn how to build a simple yet useful air quality sensor. We will use the SGP30 sensor along with the Piksey Pico, though the sketch will work with pretty much any Arduino compatible board. The …
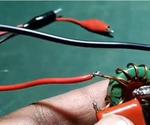
“This Audio amplifier consists of the single transistor (2N3005) and a simple amplifier circuit consists of simple electrical components like resistors, capacitors etc. The circuit of this amplifier is quite simple because it has the minimum number of components. Component …
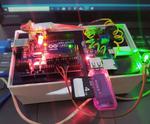
“Stress reducer device is a such type of device that will not only automatically detect your stress but also reduce it. Whenever a person suffers from stress than their heart beat rate increases. So in this device im using heart …
Project Automatically re-connecting low-voltage cut-outs for 12 and 24 volt lead acid battery systems
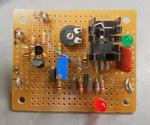
“In a previous post I described a simple circuit that provided a low-voltage cut-out that could be used in a battery-operated system - see the article “A latching low-voltage disconnect for 12 volt lead-acid and lithium batteries”. That circuit - intended mostly …

“Last year I got the Crazepony Mini quadcopter, and just recently I figured out how to program it. I will show my progress in this post, and it will also serve as a getting started guide for programming STM32 microcontrollers …

“Supplies: (1) Brake Light (28) Red LED Diodes (7) 180 ohm 1/8w Resistors (1) Prototyping board (1) Arduino Nano (1) spools of wire (1) 8 pin waterproof connector optional (2) Male/female spade connectors”